Spring Sescurity 란?
'인증(Authentication)'과 '권한(Authorization)'에 대한 보안 부분을 담당하는 스프링 하위 프레임워크.
- 많은 보안 관련 옵션들을 제공해주어 개발자가 보안 로직을 하나씩 작성하지 않아도 되는 장점이 있다.
Authentication 인증 → 접근하는 유저가 누구인지 확인하는 절차 (ex 로그인)
Authorization 허가 → 인증된 상태에서 권한(일반유저인지 관리자인지)을 확인하고 허락하는 절차
'인증' 절차의 예
- 물건을 사기 위해 쇼핑몰에서 로그인을 하였다.
'허가' 절차의 예
- 다른 유저가 단 댓글을 삭제시키려고 했으나 권한이 없어 실패하였다.
모든 유저의 댓글삭제 가능한 권한은 관리자만 가능.
그래서!
유저를 인증하는 단계인 인증이 먼저 이루어지고
인증된 유저가 가지는 권한이 맞는지 확인하는 허가가 다음으로 이루어진다.
결론 : 순서는 인증 다음 허가가 이루어짐.
[기본설정]
스프링 세큐리티 추가하기

시큐리티를 추가하면 콘솔창에 시큐리티 임시 패스워드가 나온다.

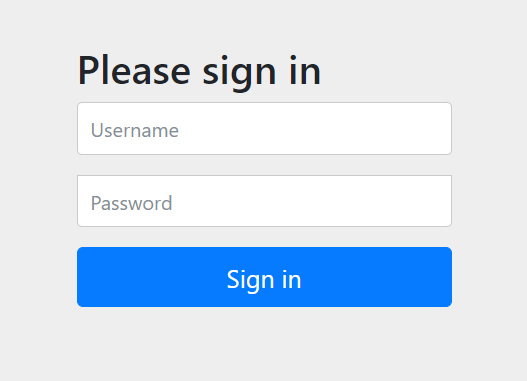
[ 시큐리티 적용중 ]
새로고침 하면 바로 로그인창이 뜬다.
id : user
password : f8b07d29-8730-4185-a96d-bb336d870387
[application properties] 에서 임시 비번설정 가능.
spring.security.user.name=user
spring.security.user.password=1234
SecurityConfig 클래스 생성
1. 상속(WebSecurityConfigurerAdapter)
2. 어노테이션(@EnableWebSecurity , @Controller )
ctrl + space 눌렀을때 configure(HttpSecurity http)로 자동완성하기

@EnableWebSecurity
@Controller
public class SecurityConfig extends WebSecurityConfigurerAdapter{
//시큐리티 1.인증(로그인) 2.허가(role에 따른 허용가능한 범위)
@Override
protected void configure(HttpSecurity http) throws Exception {
// 허가(role에 따른 허용가능한 범위)
http.authorizeHttpRequests()
//.antMatchers("/category/**").hasAnyRole("USER","ADMIN") //카테고리는 유저,관리자만
//.antMatchers("/admin/**").hasAnyRole("ADMIN") //관리자폴더는 관리자만
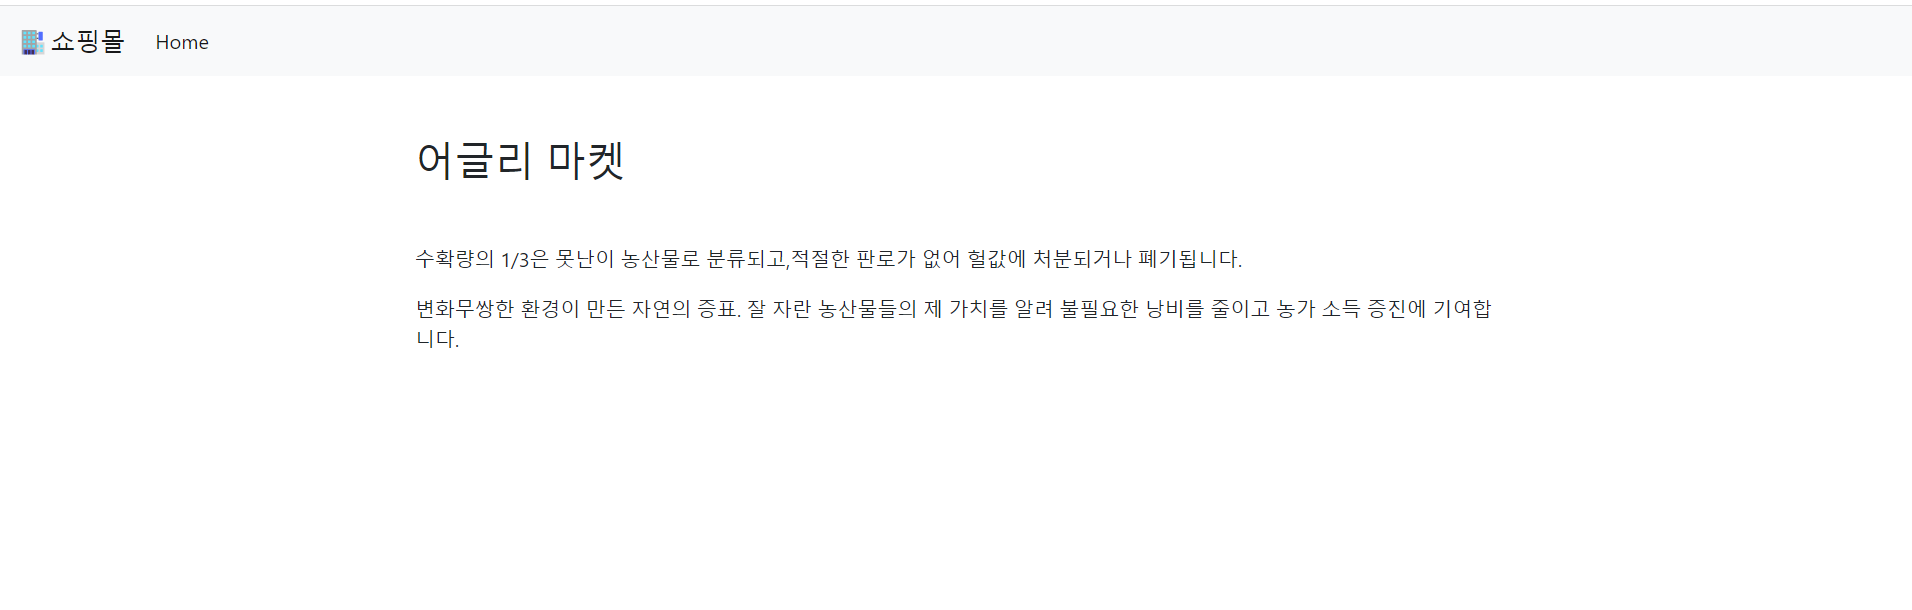
.antMatchers("/").permitAll(); //누구나 접근
}
아직 관리자, 회원이 없으니까 누구나 접근할 수 있도록 .antMatchers("/").permitAll(); 만 남겨두기!
http.authorizeHttpRequests()
.antMatchers("/").permitAll();
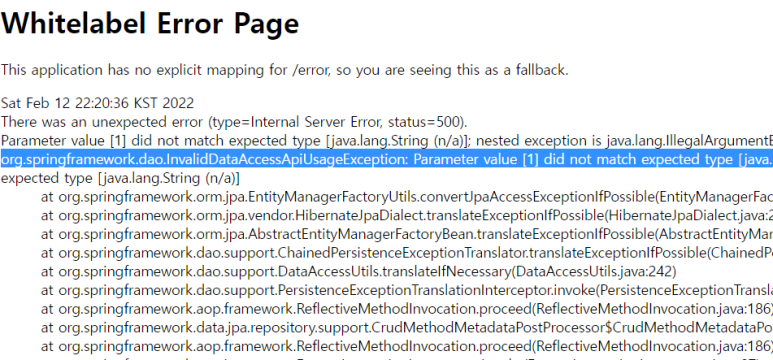
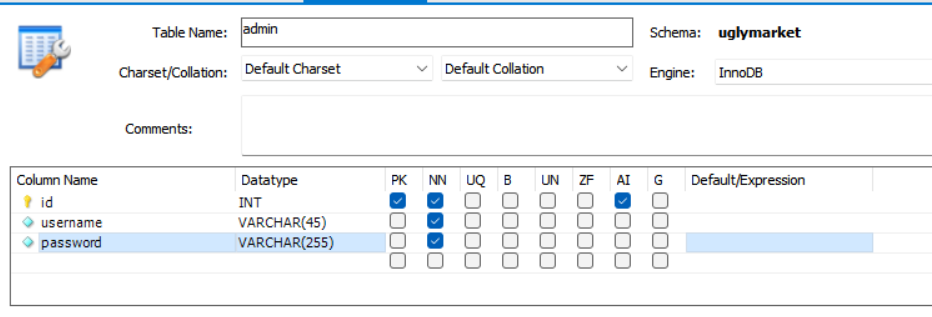
[ 유저, 관리자 테이블 만들기 ]

반응형
LIST
'Spring boot | 쇼핑몰 만들기 | 어글리 마켓 > security | 로그인' 카테고리의 다른 글
| Spring Boot | AJAX에 csrf 적용방법 (0) | 2022.05.13 |
|---|---|
| Login 로그인 페이지 (0) | 2022.05.13 |
| 인증(유저,관리자) 하는 클래스 UserDetailsServiceImpl (0) | 2022.05.12 |
| 가입하는 컨트롤러 RegistrationController (0) | 2022.05.12 |
| Entity User, Admin 클래스 생성 (0) | 2022.05.12 |